I hope your well.
You may have noticed that I haven't posted in over two weeks (oh no!!). I apologise sincerely for that, there are many reasons-
1. Started reading A Song of Ice and Fire (and finished all the completed books so far!)
2. Went back to university for the year
3. My hands are a mess!! My chefs knife was carelessly put in the washing up basin by someone (whom I'm sure thought they were being very helpful) where it got multiple chips in the blade! I had to spend an hour working on it with my whetstone to get them out (to my immense satisfaction). Being a novice I also managed to file the sides of my thumbs in the process and didn't notice until they were bleeding and so they have been looking pretty manky! In addition to my un-photogenic thumbs I also managed to slice my pointer finger as the blade is now so sharp! . Oh and I made a curry with tumeric which apparently stains everything including your skin and nails bright yellow!
I have tried to spare you the worst of my yucky hands, but they are still not 100% so I apologise for that too!
Anyway, onto the nail art. I'm very happy with this simple design I came up with using small circular studs. Originally I was going to cover the whole ring finger nail in studs, using the dotted stamp as a template but I ended up just doing a flower which I like much more than the original plan! The gold studs were just purchased from ebay for about 1-2$.

The stunning orange polish I used is OPI 'Hot and Spicy. I can't decide if it is orange or peach, bright or almost even pastel! I love it!
The gold polish used to stamp the dot design from MoYou London pro plate 01 is Essie Good as gold.
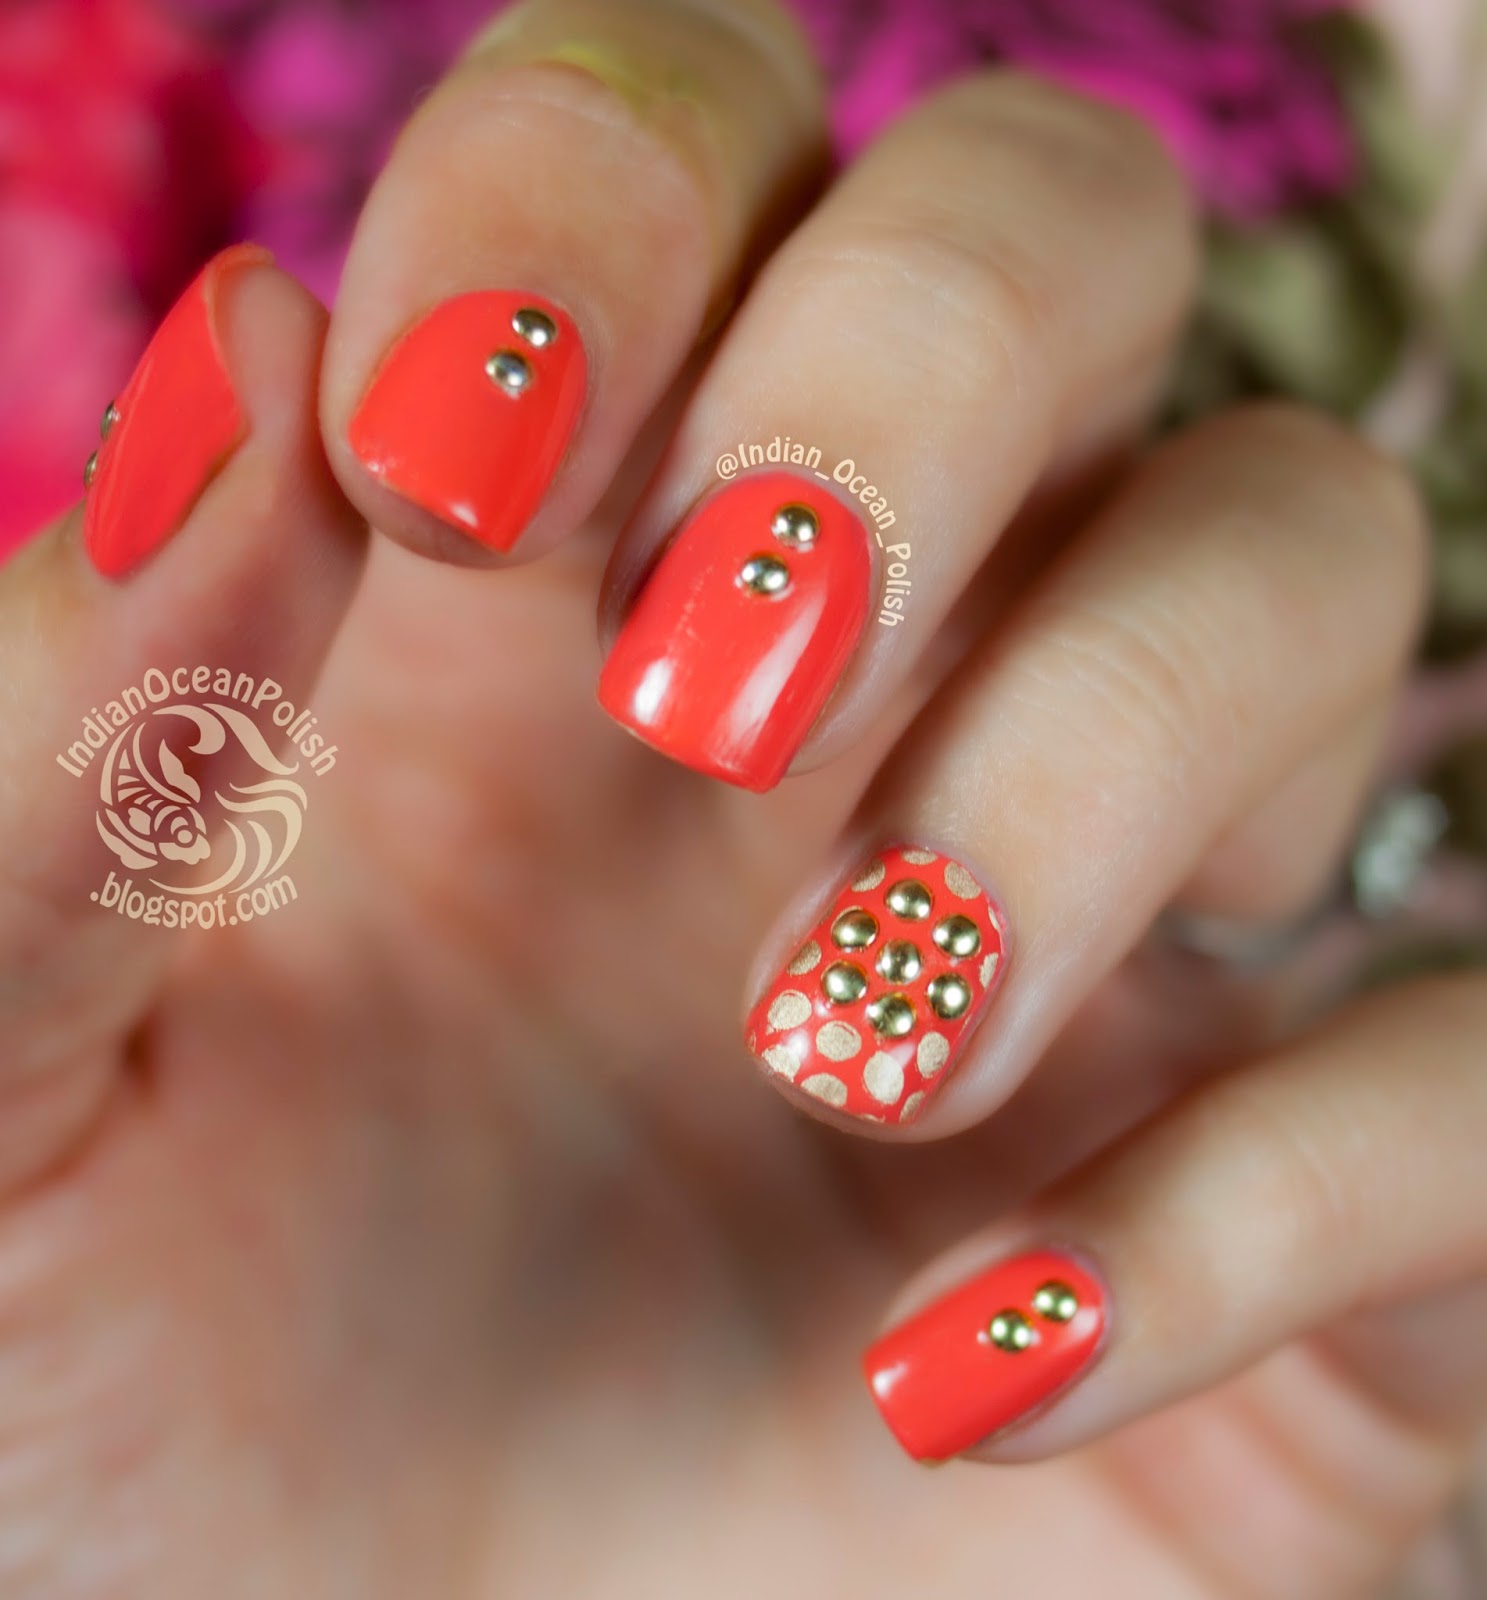
What do you think of these? I definitely want to revisit the studded designs over dots look. Maybe as stripes or random studs next time.

